
ultimate guide to home repair and improvement
Project Planning and Budgeting
Start by defining clear goals, then map tasks, estimate costs, and set a realistic timeline. Use spreadsheets or budgeting apps to track expenses, and include a 10‑15% contingency for surprises. Regular reviews keep the project on budget and on schedule. Track progress weekly to spot issue
Assessing Scope and Priorities
Before any hammer swings, a homeowner must first define the overall vision and break it into actionable phases. The ultimate guide recommends starting with a comprehensive audit: list every room, fixture, and structural element that may need attention. Rank each item by urgency—critical safety issues like structural cracks or faulty wiring get top priority, followed by functional concerns such as leaking roofs or inefficient HVAC units. Next, estimate the effort and cost for each task. Use the guide’s sample worksheets to capture labor hours, material quantities, and potential subcontractor fees. Once you have a full cost matrix, compare it against your available budget and desired timeline. This comparison reveals which projects can be tackled immediately, which can be deferred, and where a phased approach is most economical. Finally, document a clear, written plan that outlines milestones, responsible parties, and contingency allowances. This living document should be revisited after each major milestone to adjust scope if new issues arise or if savings are realized elsewhere. By rigorously assessing scope and priorities upfront, you reduce wasted time, avoid costly overruns, and ensure that the most critical improvements receive the attention they deserve.
- Set a budget cushion of 10–15% for unforeseen costs.
- Prioritize tasks that safety or structural integrity first.
- Schedule work in phases to maintain home usability.
and save now!!
Creating a Detailed Budget and Timeline
Use the Ultimate Guide’s step‑by‑step templates to map out every line item. Begin by listing all labor, materials, permits, and contingency fees, and factor in regional price variations. Next, break the project into phases—foundation, framing, plumbing, electrical, finishing—and allocate a realistic duration for each, based on the guide’s recommended timelines for similar jobs. Incorporate buffer days for weather delays or supply shortages. As you populate the spreadsheet, calculate cumulative totals and compare them to the available budget. Adjust scope or schedule where necessary to stay within financial limits. Finally, schedule regular check‑ins: weekly progress reports, monthly budget reviews, and a final audit after completion. This disciplined approach, drawn from the guide’s proven methodology, ensures that costs stay predictable, deadlines are met, and the homeowner retains control over the entire repair journey.
A realistic budget also accounts for inflation, seasonal price hikes, and unexpected material shortages. By reviewing supplier quotes, negotiating bulk discounts, and setting aside a contingency reserve, homeowners can mitigate cost overruns. Tracking expenses in real time, adjusting labor allocations, and financial control; Consistent monitoring ensures that the project remains within the planned dollar range and that any deviations are addressed , preserving both schedule and savings.
Essential Tools and Supplies
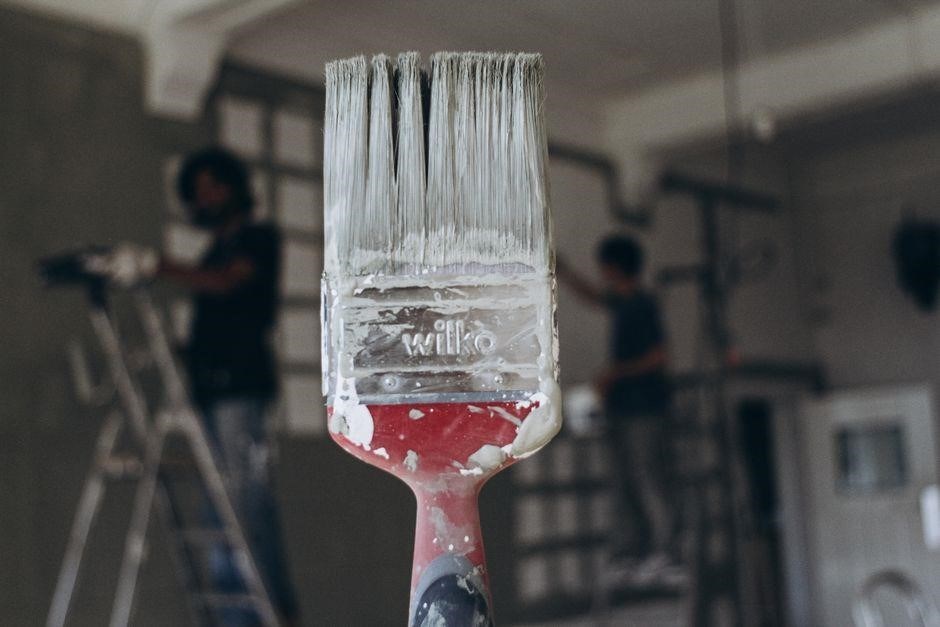
The Ultimate Guide catalogs must‑have tools: a sturdy hammer, adjustable wrench, tape measure, level, drill, saw, screwdriver set, pliers, utility knife, and safety gear. It also lists supplies like nails, screws, caulk, and insulation for every repair. It also lists a workbench. safety!!

Hand Tools Every DIYer Should Own
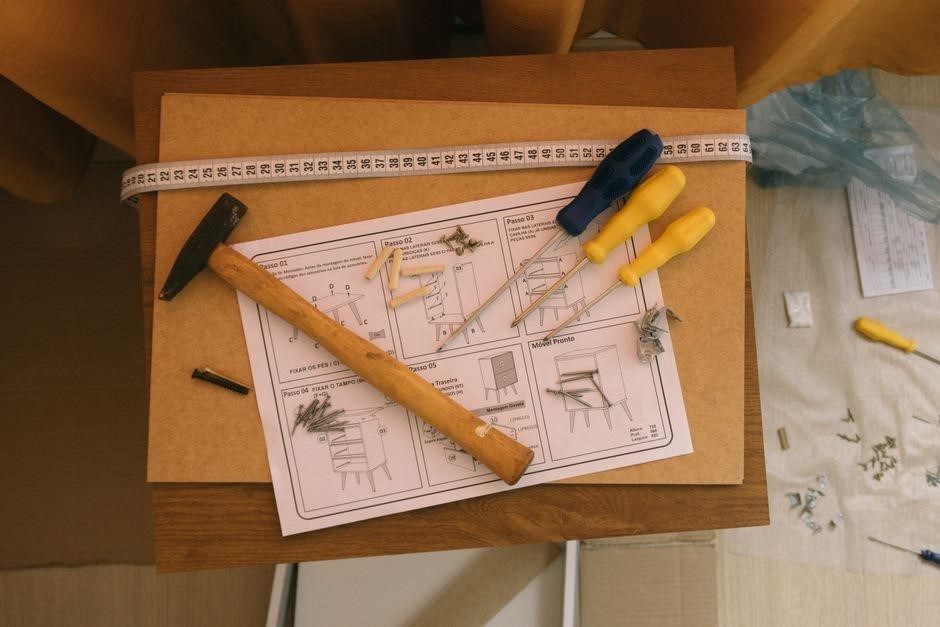
According to the Ultimate Guide to Home Repair and Improvement, a well‑equipped toolbox is the foundation of any successful DIY project. The guide lists a core set of hand tools that every homeowner should have on hand to tackle routine repairs, installations, and maintenance tasks. Below is a concise inventory of these essential items, along with brief usage notes and tips for selecting quality versions that will stand the test of time.
- Hammer – A 16‑oz claw hammer with a comfortable grip is ideal for framing, demolition, and general fastening. Look for a steel head with a balanced feel and a non‑slip handle.
- Adjustable Wrench – Versatile for plumbing and mechanical work, an adjustable wrench with a smooth jaw mechanism saves space and effort.
- Tape Measure – A 25‑foot tape with a locking mechanism and a sturdy case is essential for accurate measurements in carpentry and layout projects.
- Level – A 24‑inch spirit level ensures floors, walls, and shelves are perfectly horizontal or vertical; a bubble that stays centered is a sign of quality.
- Drill (Cordless) – A cordless drill with a variable speed trigger and a set of drill bits and screwdriver bits is indispensable for drilling holes and driving screws.
- Handsaw – A 12‑inch reciprocating or crosscut saw provides the ability to cut wood, plastic, and metal in tight spaces.
- Screwdriver Set – A set of Phillips, flathead, and Torx drivers with magnetic tips prevents screws from falling into hard‑to‑reach areas.
- Pliers (Needle‑Nose, Slip‑Joint) – These are useful for gripping, bending, and cutting wires or small fasteners.
- Utility Knife – A retractable blade utility knife is perfect for cutting drywall, carpet, and other materials.
- Safety Gear – Safety glasses, work gloves, and hearing protection protect the user during cutting, drilling, and other high‑impact tasks.
Investing in high‑quality hand tools not only improves efficiency but also reduces the risk of injury and tool failure. The Ultimate Guide recommends selecting tools with ergonomic designs, durable materials, and reputable brands. Proper storage in a toolbox or pegboard keeps tools organized and readily accessible, ensuring that every DIY project can be approached with confidence and precision.
These tools form the backbone of any home repair kit. By mastering their use, you can confidently address minor fixes, from tightening loose cabinet hinges to installing a new faucet. The guide also advises on routine maintenance of tools—cleaning, oiling, and replacing worn parts—to extend their lifespan.
Power Tools for Advanced Repairs
The Ultimate Guide recommends a focused set of power tools that elevate home repair beyond hand‑tool limits; These machines provide precision, speed, and safety for framing, drywall, tile, and cabinetry. Below is a concise list of essential power tools with brief descriptions of use and key features.

- Cordless Drill/Driver – 20‑amp brushless motor, variable speed, dual trigger. Drills and drives screws in wood, metal, masonry.
- Angle Grinder – 4‑to‑5‑inch wheel, variable speed. Cuts, grinds, polishes metal or stone.
- Reciprocating Saw – 12‑inch, adjustable speed, quick‑change blades. Demolition and trimming.
- Rotary Tool Kit – Small, lightweight, interchangeable bits for sanding, grinding, carving, polishing.
- Table Saw – 10‑inch blade, built‑in fence, dust collection. Accurate crosscuts and rip cuts in lumber.
- Jigsaw – 15‑amp, variable speed, fine‑tooth blade. Curved cuts in wood, plastic, thin metal.
- Drill Press – Stationary press for deep, countersunk, angled holes with high accuracy.
- Orbital Sander – 9‑inch, variable speed, dust‑vacuum attachment for smooth finishes on wood, metal, composites.
Choose tools with ergonomic grips, anti‑kickback guards, and overload protection. Regular maintenance—cleaning, lubrication, and timely part replacement—extends tool life and ensures reliable performance. With these power tools, homeowners can confidently tackle advanced repairs, achieving professional results while reducing effort and risk.

Plumbing Basics
Begin with pipe types: copper, PEX, PVC, and CPVC. Know fittings, valves, and shut‑off locations. Inspect for leaks, test pressure, and use pipe insulation. Follow local codes, label runs, and maintain a clean, accessible water supply. Verify venting and backflow test.

Common Pipe Materials and Their Uses
Copper remains the gold standard for potable water, offering corrosion resistance, durability, and a long service life. Its malleability allows for easy soldering, but the higher cost and need for skilled labor can be limiting. PEX, or cross‑linked polyethylene, has surged in popularity for its flexibility, resistance to scale, and ease of installation. It can be run through walls without many fittings, reducing labor time and potential leak points. PVC (polyvinyl chloride) is ideal for drain, waste, and vent (DWV) systems, offering a lightweight, inexpensive, and chemically resistant solution that can be joined with solvent cement. CPVC extends PVC’s temperature range, making it suitable for hot water lines while maintaining the same installation simplicity. Galvanized steel was once the backbone of residential plumbing, but its tendency to corrode internally and the resulting buildup of scale can lead to reduced flow and eventual failure. Cast iron, though heavy and costly, provides excellent noise dampening and fire resistance, making it a common choice for commercial or historic buildings. Each material’s selection hinges on factors such as budget, local code requirements, temperature tolerance, and the specific application within the home’s plumbing network. Choosing the right pipe type not only saves money but also protects the home from future repairs, ensuring peace of mind for years ahead and lasting durability.
Fixing Leaks and Low Water Pressure
When a leak appears, the first step is to locate the source. Turn off main water supply and inspect exposed pipes, fittings, and valves for visible cracks, loose connections, or corrosion. Small pinhole leaks in copper or PEX can often be sealed with epoxy putty or pipe repair clamp, while larger breaks may require replacement section cut with pipe cutter and secured with new fitting. For low water pressure, check pressure regulator; malfunctioning regulator can drop pressure dramatically. Reset or replace regulator if it reads below manufacturer’s recommended range. Additionally, inspect main shut‑off valve for partial blockage or internal wear. In many cases, sediment buildup in water heater or clogged aerator on faucets can reduce flow. Flush water heater’s tank to remove sludge, and clean or replace aerators with small brush or vinegar soak. If problem persists, use pressure gauge to measure pressure at main supply line; readings below 40 psi often indicate pipe restriction or broken pipe segment. For persistent leaks, consider using pipe repair kit that includes rubber sleeve and epoxy resin, which can be applied to damaged area and cured in minutes. Always test repair by slowly restoring water flow and checking for drips. If leaks recur or pressure remains low after these steps, it may be time to replace entire pipe run or consult licensed plumber for comprehensive assessment. Proper diagnosis, timely repair, and preventive maintenance can extend life of plumbing system and prevent costly water damage. Use a calibrated pressure gauge to confirm.
Installing or Replacing Fixtures
Installing or replacing bathroom or kitchen fixtures—such as sinks, faucets, toilets, showerheads, or towel bars—requires careful planning, the right tools, and a clear understanding of plumbing connections. First, shut off the water supply and drain the line by opening the nearest faucet or valve. Disconnect the old fixture by loosening nuts, removing mounting brackets, and detaching supply lines. For a sink, use a basin wrench, adjustable pliers, and silicone sealant to create a watertight seal. When installing a new faucet, align mounting holes with the pre‑drilled holes, apply plumber’s putty or silicone, and secure the fixture with supplied mounting hardware. Tighten nuts by hand, then finish with a torque wrench set to the manufacturer’s recommended setting to avoid over‑tightening. For toilets, remove the old tank and bowl by disconnecting the water line, loosening the bolts that hold the bowl to the floor, and lifting the unit. Install the new wax ring, place the bowl, secure with bolts, reattach the tank, tighten the mounting nuts, and reconnect the water supply. Finally, test all connections for leaks by turning the water back on and checking each joint. If leaks appear, tighten connections or replace faulty washers. Use a pipe wrench for stubborn nuts and a pipe cutter if you need to trim supply lines to fit new fixtures. Properly installed fixtures improve functionality and enhance the aesthetic appeal of your space. Always follow the manufacturer’s instructions and local building codes. If you’re uncertain, consult a licensed plumber before proceeding!

Electrical Safety and Wiring
Electrical safety starts with proper circuit identification and labeling. Always turn off breakers before work, use insulated tools, and verify voltage with a tester. Follow code for conduit, GFCI placement, and wire sizing to prevent hazards and ensure reliable, safe power. and safety.!!!

Understanding Circuit Breakers and Panels
Modern homes rely on a central panel that distributes power to every outlet, appliance, and light fixture. A circuit breaker interrupts electricity during a fault or overload, preventing overheating, fires, and equipment damage. Breakers match wiring gauge; residential panels usually have 100‑150 amp service with several 15‑20 amp breakers. Knowing the panel layout—main switches, circuit numbers—helps troubleshoot quickly. When upgrading a panel, verify service capacity, grounding, and code compliance. Proper installation mounts the panel flush, secures breakers, connects neutral and ground buses. After installation, a qualified electrician should calculate load, test circuits, and confirm breakers trip at rated current. Regular inspections and keeping the panel clean reduce corrosion and accidental contact. Mastering breakers and panels keeps homeowners safe, avoids costly repairs, and ensures reliable power. Modern panels often include built‑in AFCI and GFCI protection, detecting dangerous arcs early. Label each circuit with clear markers for quick identification during maintenance. When adding circuits, calculate load to avoid overloading and choose a panel with spare slots. Keep the panel door open during checks, and never place metal objects inside, as they can create short circuits. Always consult a licensed electrician for upgrades to meet local state codes!
Replacing Light Fixtures and Switches
Before you begin, turn off the power at the breaker and verify with a voltage tester that the circuit is dead. Remove the old fixture by unscrewing the mounting bracket, disconnecting the wiring, and carefully taking the fixture down. For a new fixture, match the mounting hardware to the electrical box and ensure the box is rated for the fixture’s weight and type. Wire the new fixture by connecting the black (hot) to the fixture’s black wire, white (neutral) to white, and green or bare copper to ground. Tighten all connections with a screwdriver or a torque wrench to the manufacturer’s specifications. If you’re installing a new switch, replace the old switch plate, remove the screws, and disconnect the wires. For a single‑pole switch, connect the incoming hot to the common terminal and the outgoing hot to the traveler. For a three‑way, match traveler wires to traveler terminals and connect the common to the common terminal. After wiring, secure the switch in the box, attach the plate, and restore power. Test the fixture or switch with a voltage tester or by turning the breaker back on. Always follow local code, use a GFCI where required, and consider hiring a licensed electrician for complex or high‑voltage work. When working with older homes, always inspect for outdated wiring, such as knob‑and‑tube, and replace it with modern, grounded circuits to meet current safety standards—do it today!!
Grounding and GFCI Installation
Grounding is the safety backbone of any electrical system, ensuring stray currents are diverted to earth rather than through a person. A properly installed grounding electrode—usually a copper rod driven into the soil—provides a low‑impedance path for fault currents. GFCI (Ground‑Fault Circuit Interrupter) devices protect occupants by detecting imbalances between hot and neutral conductors; if the difference exceeds 5 mA, the GFCI trips within 0.1 seconds. Install GFCIs on all wet locations such as bathrooms, kitchens, garages, and outdoor receptacles. When wiring a GFCI receptacle, connect the line terminals to the incoming hot and neutral, and the load terminals to downstream outlets that require protection. Always test GFCIs with the built‑in “Test” and “Reset” buttons after installation, and perform a periodic check to maintain reliability. If the building code mandates a dedicated grounding bus or requires bonding between metal water pipes and the grounding electrode, incorporate these steps to meet compliance. Proper grounding and GFCI installation dramatically reduce shock risk and are essential for any modern home’s electrical safety strategy. Additionally, the National Electrical Code (NEC) requires that all metal conduit, raceways, and grounding conductors be bonded together to ensure a continuous path. After installation, perform a continuity test with a multimeter set to the lowest ohms range; a reading below 5 ohms indicates a good bond. Finally, keep a log of all GFCI tests and any tripping incidents; this documentation can be invaluable during inspections or when troubleshooting future issues. Keep the grounding electrode free of corrosion to maintain low resistance.